How to Draw a Printing Press Easy How to Draw a Printing Press
- Screen Printing Press Materials
- One Color Printing Press
- DIY 4 Color screen printing press
- 4 Color Printing Press PLAN
Introduction
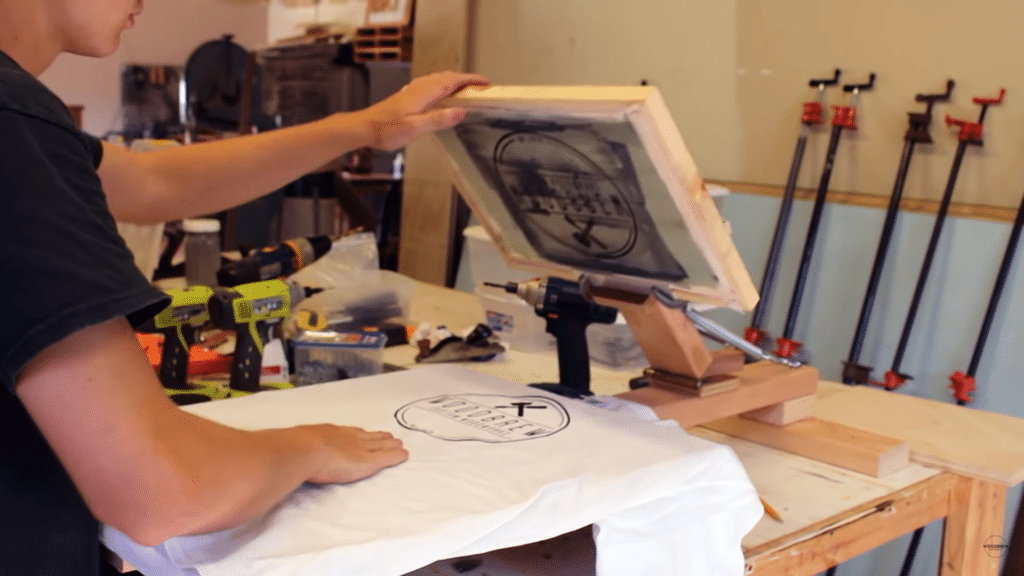
Have you ever wanted to try screen painting but felt like it would be too costly. What if I told you that you can create your own screen press with little cost? I am going to show you how easy and fast it is and before you know it, you will be making tons of tee shirts. I will show you step by step to create your screen printer using a set of screen printing plans.
Screen Printing Press Materials
Wood
The first step is getting your lumber together. The diagrams will show you what size to cut your lumber and how many pieces of each you will need. It is important that the thickness of your wood is the total width of pieces B and F. The turntable is is the total thickness of pieces I and U.

Hardware
More than likely you will have to go to two places or more places to complete your list.
The local hardware store should have most of what you need but you will need to go to a woodworking shop. You may even order it online. The lazy Susan will be the hardest part to get as it has to be heavy duty. You will want to get a 7" X 7" X 1" model. If you get the wrong one, it could compromise how well your press will work.
Other hardware you will need is:
8 Lag Eye Screws,
1/4″ x 3 3/4″4 Lag Eye Screws,
3/16″ x 2 1/16″4 Hex Cap Bolts,
1/4″ x 1 1/4″4 Hex Cap Bolts,
1/4″ x 1 3/4″2 Hex Cap Bolts,
3/8″ x 7″
2 Carriage Bolts, 3/8″ x 3"
8 Fender Washers,
1 1/4″ diameter,
2 Wingnuts,
3/8″1 Pound 2.5" Wood Screws
Several 2″ and 3" Wood Screws as needed
8 Hook & Eye Turnbuckles,
3/16″ x 4 3/4″8 Springs,
5/8″x 3 1/4″x .072"8 Hex Nuts,
1/4″2 Hex Nuts,
3/8″4 Washers,
3/16″6 Washers,
3/8″8 Metal C-Clamps,
2″ (height) x 1" (depth),
Hinges with hardware (screws), 3 1/2" wide
Read More:
One Color Printing Press

©Scott and Pat Fresener
You will need to make a few alterations. You can curve the top of the shirt board and this will help you to properly line up the shirt you are working on. Once you have your press built cover it with a coating of polyurethane in order to protect your press from warping.
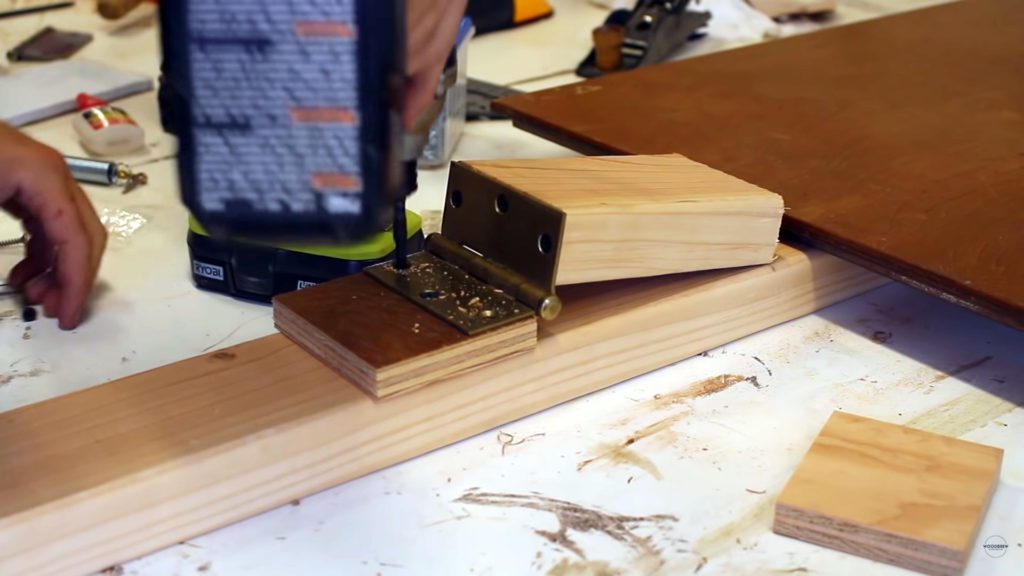
After building and coating your press all you have to do is to screw on the hinge clamps. You should be able to find these at any craft store or you can find them online. Prior to using your press spray it with a spray adhesive, it will keep the shirt from sticking when lifting up the screen.
After completing this project you will have 1 color at home screen printing machine. Now you are ready to start screen printing. You will be able to give one-of-a-kind items made from your printing press.

While a 1 color at-home screen printing machine limits you to using one color at a time, you can build your own DIY 4 color screen printing press. With this one, you can use up to four different colors.
Do it yourself 4 Color screen printing press

While making the four-color press is a lot more intricate than the one-color-at-home screen printing machine, it can be done. You will need an extra set of hands. If you have a friend who is good at woodwork, you have it made. This is will take you several days to complete. When you have an extra person helping, one can hold the piece while the other attaches it. Another tip is to use wood glue at the joints before placing the screws. This makes it sturdier. You will also want to pre-drill the holes prior to placing the screws. Make the holes smaller than the screws.
No matter which screen printing plans you use you will need these tools.
- Tools Needed
- Level
- Square
- drill
- Screwdriver
- Miter saw
- Table Saw or Circular Saw
- Electric Sander
- Workbench Vise or Drill Press
- Pencil
- Clamps
- Wood Glue
- Welding Glue
- Paper or Cardstock
4 Color Printing Press
Step One
No matter which press you are making, your first step should be to cut your wood. Each diagram shows you what pieces you will be needing. Cut all of your wood at one time and mark them with the correct letter. This will help save you time and frustration. This diagram will show you how many pieces you need to cut.
Take pieces L and Q. Attach the legs which are part N. Take time to make sure your angles square. In the places where L extension passes, the legs take a piece of 2"X4" to check the bits which are extended are equal to the smaller width of the wood.
Step Two
Using only glue and clamps attach the thin sides of M to the thin side of part A. With the clamps attach place A and M on top of the two legs from step one. Parts L and M will form a square around part A. When you feel like it is correct then you can screw L into M. Then screw A into both L and M from the top.
Step Three
By now you should have a standing table but until you attach parts P to part N it will be very unsteady. Keeping part P flush to the outside screw part P to part N. P is the support that keeps the press stable. It is also where shelf E rests. You can make it taller or shorter depending upon what your needs are. You can also add more shelves if you so desire.
Step Four
In this step, you attach part O to the sides of the table. You place these on the outside of the table. Place shelf E to the crossbeams of part P. Then add K to the back. This will keep things from falling off. This should finish the table. It should be very sturdy or you will need to redo it.
The following diagram will show you how your press should be put together.
https://www.instructables.com/Build-a-4-Color-T-Shirt-Printing-Press/
Building the Platen and the Arm
Step Five
You have completed the table now it is time for the platen and arm. The above diagram shows you the different pieces and how they go together. It is the platen where shirts are pulled to be printed. The piece F is glued into the middle of part A, the table. Make sure it is glued in the exact middle. Draw an X on the table. Match the corners of part F onto the X. This will help you get it in the middle. Use glue only.
Step Six
For now, leave the press alone. It is time to build the platen. This platen is only for adult shirts you will need different size platens for smaller shirts. Now it is time to put holes in the largest side of four of the part W. These will be half-inch holes directly in the middle of the part. Take the other four and draw a line 2 3/8" in from the end. When you have completed that. Drill holes in the new middle. Next, attach them to board G. So that it is snug use a two-by-four to help you space the wood.
The holes need to be the same distance as the holes going the other way. It is also best to pre-drill the holes before attaching the parts W. This will keep you from having problems with wood splitting.
Step Seven
By the time you get to this step, you should be done with the platen. This is the time where you decide where to drill holes in the platen arm. Put the platen over the part U snuggly. The curved edge of the platen is supposed to be three inches from the end of the platen arm. Mark the holes, remove the platen, and drill half-inch holes through the platen arm. Be sure to drill them straight. You can also drill another set of holes 2 1/4" further in as this will give you greater flexibility when you are printing.
Step Eight
Attach the platen arm to the table using the two carriage bolts. Use the correct washer and hex nuts and four screws for greater stability. You see on the diagram where to place them. The dotted lines on the diagram show you where to measure so that your platen arm is straight before you put in the screws. You also want to make sure that the screws go thru all the parts.
Source: https://screenprinting-support.com/diy-screen-printing-press/
0 Response to "How to Draw a Printing Press Easy How to Draw a Printing Press"
Post a Comment